Print Production & Setup
November 2, 2026
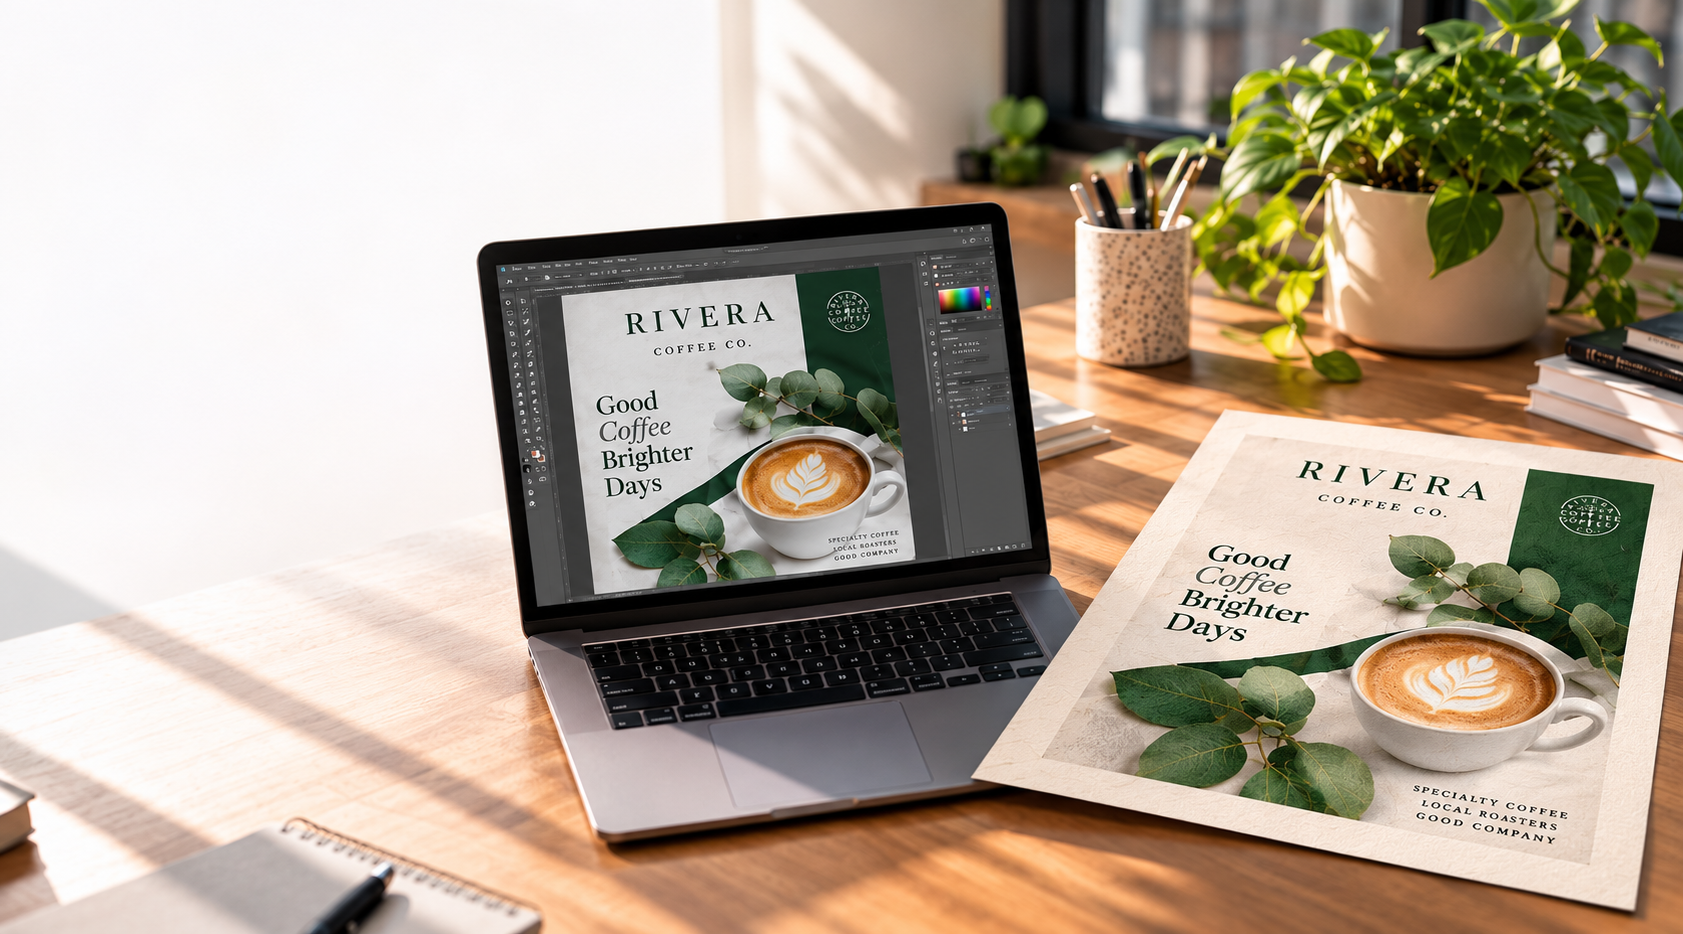
A print-ready file is artwork prepared to the specifications needed for commercial printing, so it can move into production without significant changes. In most cases, that means the file is built at the correct finished size, uses suitable image resolution and color settings, includes bleed when artwork runs to the edge, keeps critical content inside a safe area, and is exported in the format requested for the project.
The exact requirements can vary by product and production method. Before you submit artwork, confirm the specifications for your specific job—especially finished size, bleed, color, resolution and file format.
A print-ready file contains the information a commercial printer needs to reproduce the design as intended. The goal is not simply to make a file that looks correct on screen; it is to prepare the artwork for the physical size, trimming and color requirements of the finished piece. Adobe recommends checking links, fonts, bleed, margins, print color and preflight errors before exporting a print-ready PDF from InDesign.
As a practical final check, review these six areas before submitting artwork:
Finished size: The document or artboard matches the intended final dimensions.
Bleed: Background colors, photos or graphics that print to the edge extend beyond the trim line.
Safe area: Important text, logos and other critical elements sit far enough inside the trim edge to avoid being cut.
Images: Raster images have enough effective resolution at the size they will actually print.
Color: The file uses the color setup requested for the job, and you understand that screen color may not reproduce identically in print.
Fonts and artwork: Fonts, links and placed graphics are available and prepared correctly for the production workflow.
For a step-by-step file-preparation walkthrough, see A Guide to Creating Print-Ready Artwork. The guide covers final file checks plus detailed export instructions for Adobe InDesign, Illustrator, Photoshop and Canva, along with guidance for AI-generated artwork, print terminology and common print sizes.
A high-quality PDF is commonly used for finished print artwork because it can preserve page layout, fonts, images and graphics in a self-contained file. Adobe’s print-production guidance includes PDF export settings designed for commercial printing.
Do not assume, however, that every PDF is automatically print ready. A PDF can still have the wrong dimensions, missing bleed, low-resolution images or unsuitable color settings. The file format is only one part of the setup.
If a printer requests the original design file, packaged assets or another format, follow those project-specific instructions. Otherwise, submit the production PDF using the specifications provided for the job.
Resolution should be evaluated at the final printed size. An image can contain many pixels and still become soft or pixelated if it is enlarged too far. Adobe flags images below 300 ppi as a potential preflight issue for print-ready PDFs. Larger-format work viewed from farther away may use different requirements, so the final product and viewing distance matter.
This is why checking only the image’s original pixel dimensions is not enough. What matters is the effective resolution after the image has been placed and scaled in the layout.
RGB and CMYK create color in different ways. Screens use RGB light, while four-color process printing uses cyan, magenta, yellow and black inks. Adobe explains that RGB and CMYK have different color gamuts, which is why some colors visible on a monitor cannot be reproduced exactly in print.
Use the color setup requested for the project and review a proof when color accuracy is especially important. The print process, substrate and color-management workflow can all affect the finished result.
These three terms describe different parts of the finished piece. The trim line is where the piece is cut to its final size. Bleed is artwork that extends beyond that line so color or imagery can reach the finished edge without leaving an unintended white border. Adobe describes bleed as artwork extending beyond the page edge to account for slight variation during printing or trimming. The safe area sits inside the trim line and keeps important content away from the cutting edge.
The AlphaGraphics print-ready guide uses 0.125 inch (1/8 inch) as the standard bleed and safe-area reference for its common print examples, while noting that a local AlphaGraphics team may specify otherwise for a particular project.
Not in every workflow. Outlining converts editable type into vector shapes, which can help prevent missing-font issues, but it also means the text can no longer be edited normally. PDFs can also preserve fonts through embedding; Adobe notes that embedded fonts help prevent font substitution and preserve the intended appearance.
The AlphaGraphics guide instructs Illustrator users to convert text to outlines and save a separate editable version before doing so; its InDesign workflow instead calls for confirming that fonts are active before export. That difference is a good example of why file preparation should follow the application and production workflow rather than one universal rule.
A screen emits light, while a printed piece reflects light from ink or toner on a physical substrate. Adobe’s color guidance explains that monitors and printers use different color spaces and gamuts, so some colors will shift between screen and print.
For brand colors or other color-critical work, ask what proofing options are available before the full production run.
Before uploading or emailing the file, open the final exported PDF—not just the design file—and review it one more time.
| Check | Question to ask |
| Finished size | Does the PDF match the intended finished dimensions? |
| Bleed | If artwork reaches the edge, does it extend beyond the trim line? |
| Safe area | Are important text and logos protected from the trim edge? |
| Images | Do placed images remain sharp at final print size? |
| Color | Is the file using the color setup requested for the project? |
| Fonts & links | Are fonts and placed graphics present and current? |
| Final PDF | Are page size, page count, bleed/crop marks and visual quality correct? |
The principles above stay the same, but the export steps are different in each program. Rather than duplicating those instructions here, use A Guide to Creating Print-Ready Artwork for application-specific screenshots and steps. The guide walks through InDesign, Illustrator, Photoshop and Canva separately and explains how to handle bleed, export settings and final PDF checks in each program.
What is a print-ready file?
A print-ready file is artwork prepared for commercial printing with the correct finished size, suitable image quality and color setup, appropriate bleed and safe area, properly prepared fonts and graphics, and the requested production file format. Exact requirements can vary by product.
Is a PDF automatically print ready?
No. PDF is a common format for print production, but the file can still have incorrect dimensions, missing bleed, low-resolution images, font problems or unsuitable color settings. The PDF still needs to meet the specifications for the project.
How much bleed should I add?
The AlphaGraphics guide uses 0.125 inch (1/8 inch) on all sides as the standard reference for its common print examples, while noting that project requirements may vary. Confirm the requirement for your specific piece before exporting.
Should print files be CMYK or RGB?
CMYK is commonly used for four-color process printing, while RGB is designed for screens. Use the color setup requested for the job. If an RGB file is converted for print, some colors may shift.
Should I send the original design file too?
Only when it is requested or needed for the workflow. A correctly prepared production PDF is often sufficient for finished artwork, but some projects may require packaged source files, linked assets or another format.
What should I do if I am unsure whether my file is ready?
Confirm the specifications for the project and ask for a file review before production. If you need help creating the production file itself, use the AlphaGraphics print-ready artwork guide for program-specific instructions.