
Print Production & Setup
May 12, 2025
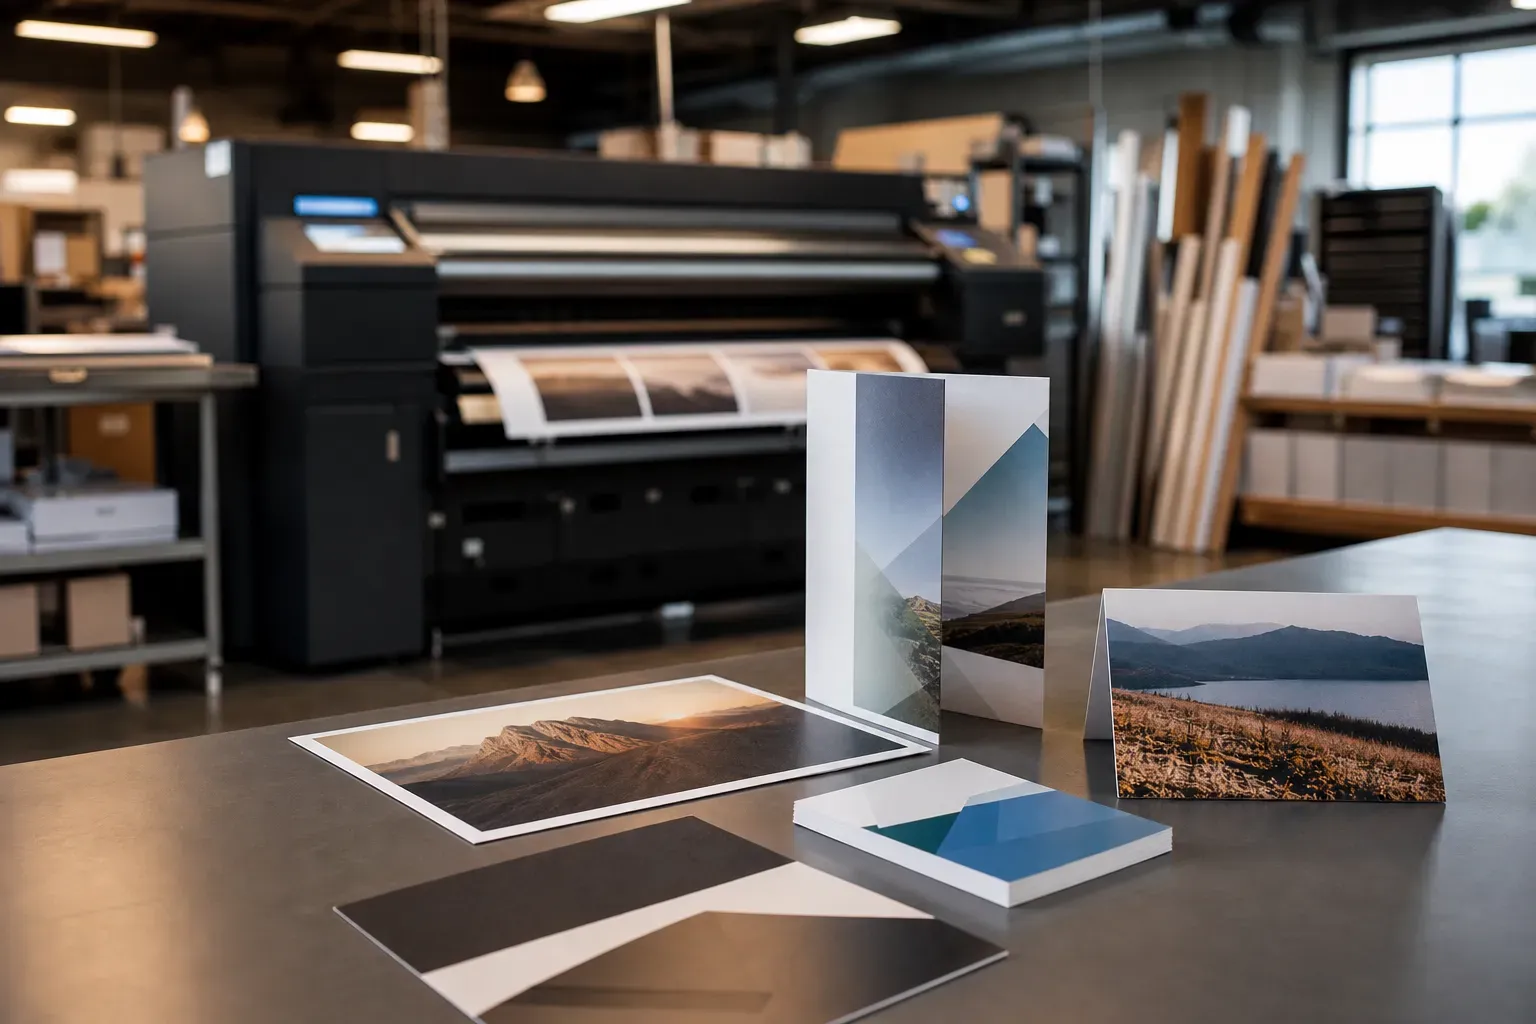
Liquid UV lamination (also known as UV coating) is a finishing process that applies a liquid coating to printed materials, which is then cured instantly with ultraviolet (UV) light. It gives the surface a glossy, matte, or satin finish and enhances durability, water resistance, and color vibrancy.
Here's a step-by-step guide on how to do liquid UV lamination:
What You’ll Need:
UV Coating Machine (or a manual roller and UV curing lamp for smaller jobs)
UV Coating Liquid – water-based or solvent-based (gloss, matte, satin)
Printed Substrate – typically paper or cardstock
UV Curing Unit – integrated or standalone lamp
Protective Gear – gloves, apron, eye protection (UV chemicals can be hazardous)
Steps for Liquid UV Lamination
1. Prepare the Printed Material
Ensure ink is fully dry before applying the UV coating.
Use coated or glossy paper stock for best results.
Avoid applying over toner-based prints (laser or digital) unless specifically formulated UV coating is used.
2. Apply the UV Coating
Manual: Use a soft roller or sponge to evenly spread the UV coating across the print.
Automatic: Feed the prints into the UV coating machine; it applies a thin, consistent layer.
3. Cure with UV Light
Immediately after coating, expose the sheet to UV light.
UV curing happens in seconds, hardening the coating to a durable finish.
Be sure the lamp power and exposure time match the coating thickness.
4. Inspect and Stack
Check for even coating, no streaks, bubbles, or tackiness.
Once cured, sheets can be stacked or further processed (cutting, folding, etc.).
Safety and Tips
Work in a well-ventilated area.
Store UV coatings in cool, dark environments to prevent premature curing.
Regularly clean rollers and trays to avoid buildup.
UV coatings cannot be printed on afterward (coated areas are non-porous).