Walking through a crowded trade show floor, attendees scan booth after booth, making split-second decisions about what's worth their time. Most displays blur together in a sea of generic banners and product demos. But there's one simple element that consistently draws crowds and creates genuine engagement: a well-designed photo opportunity.
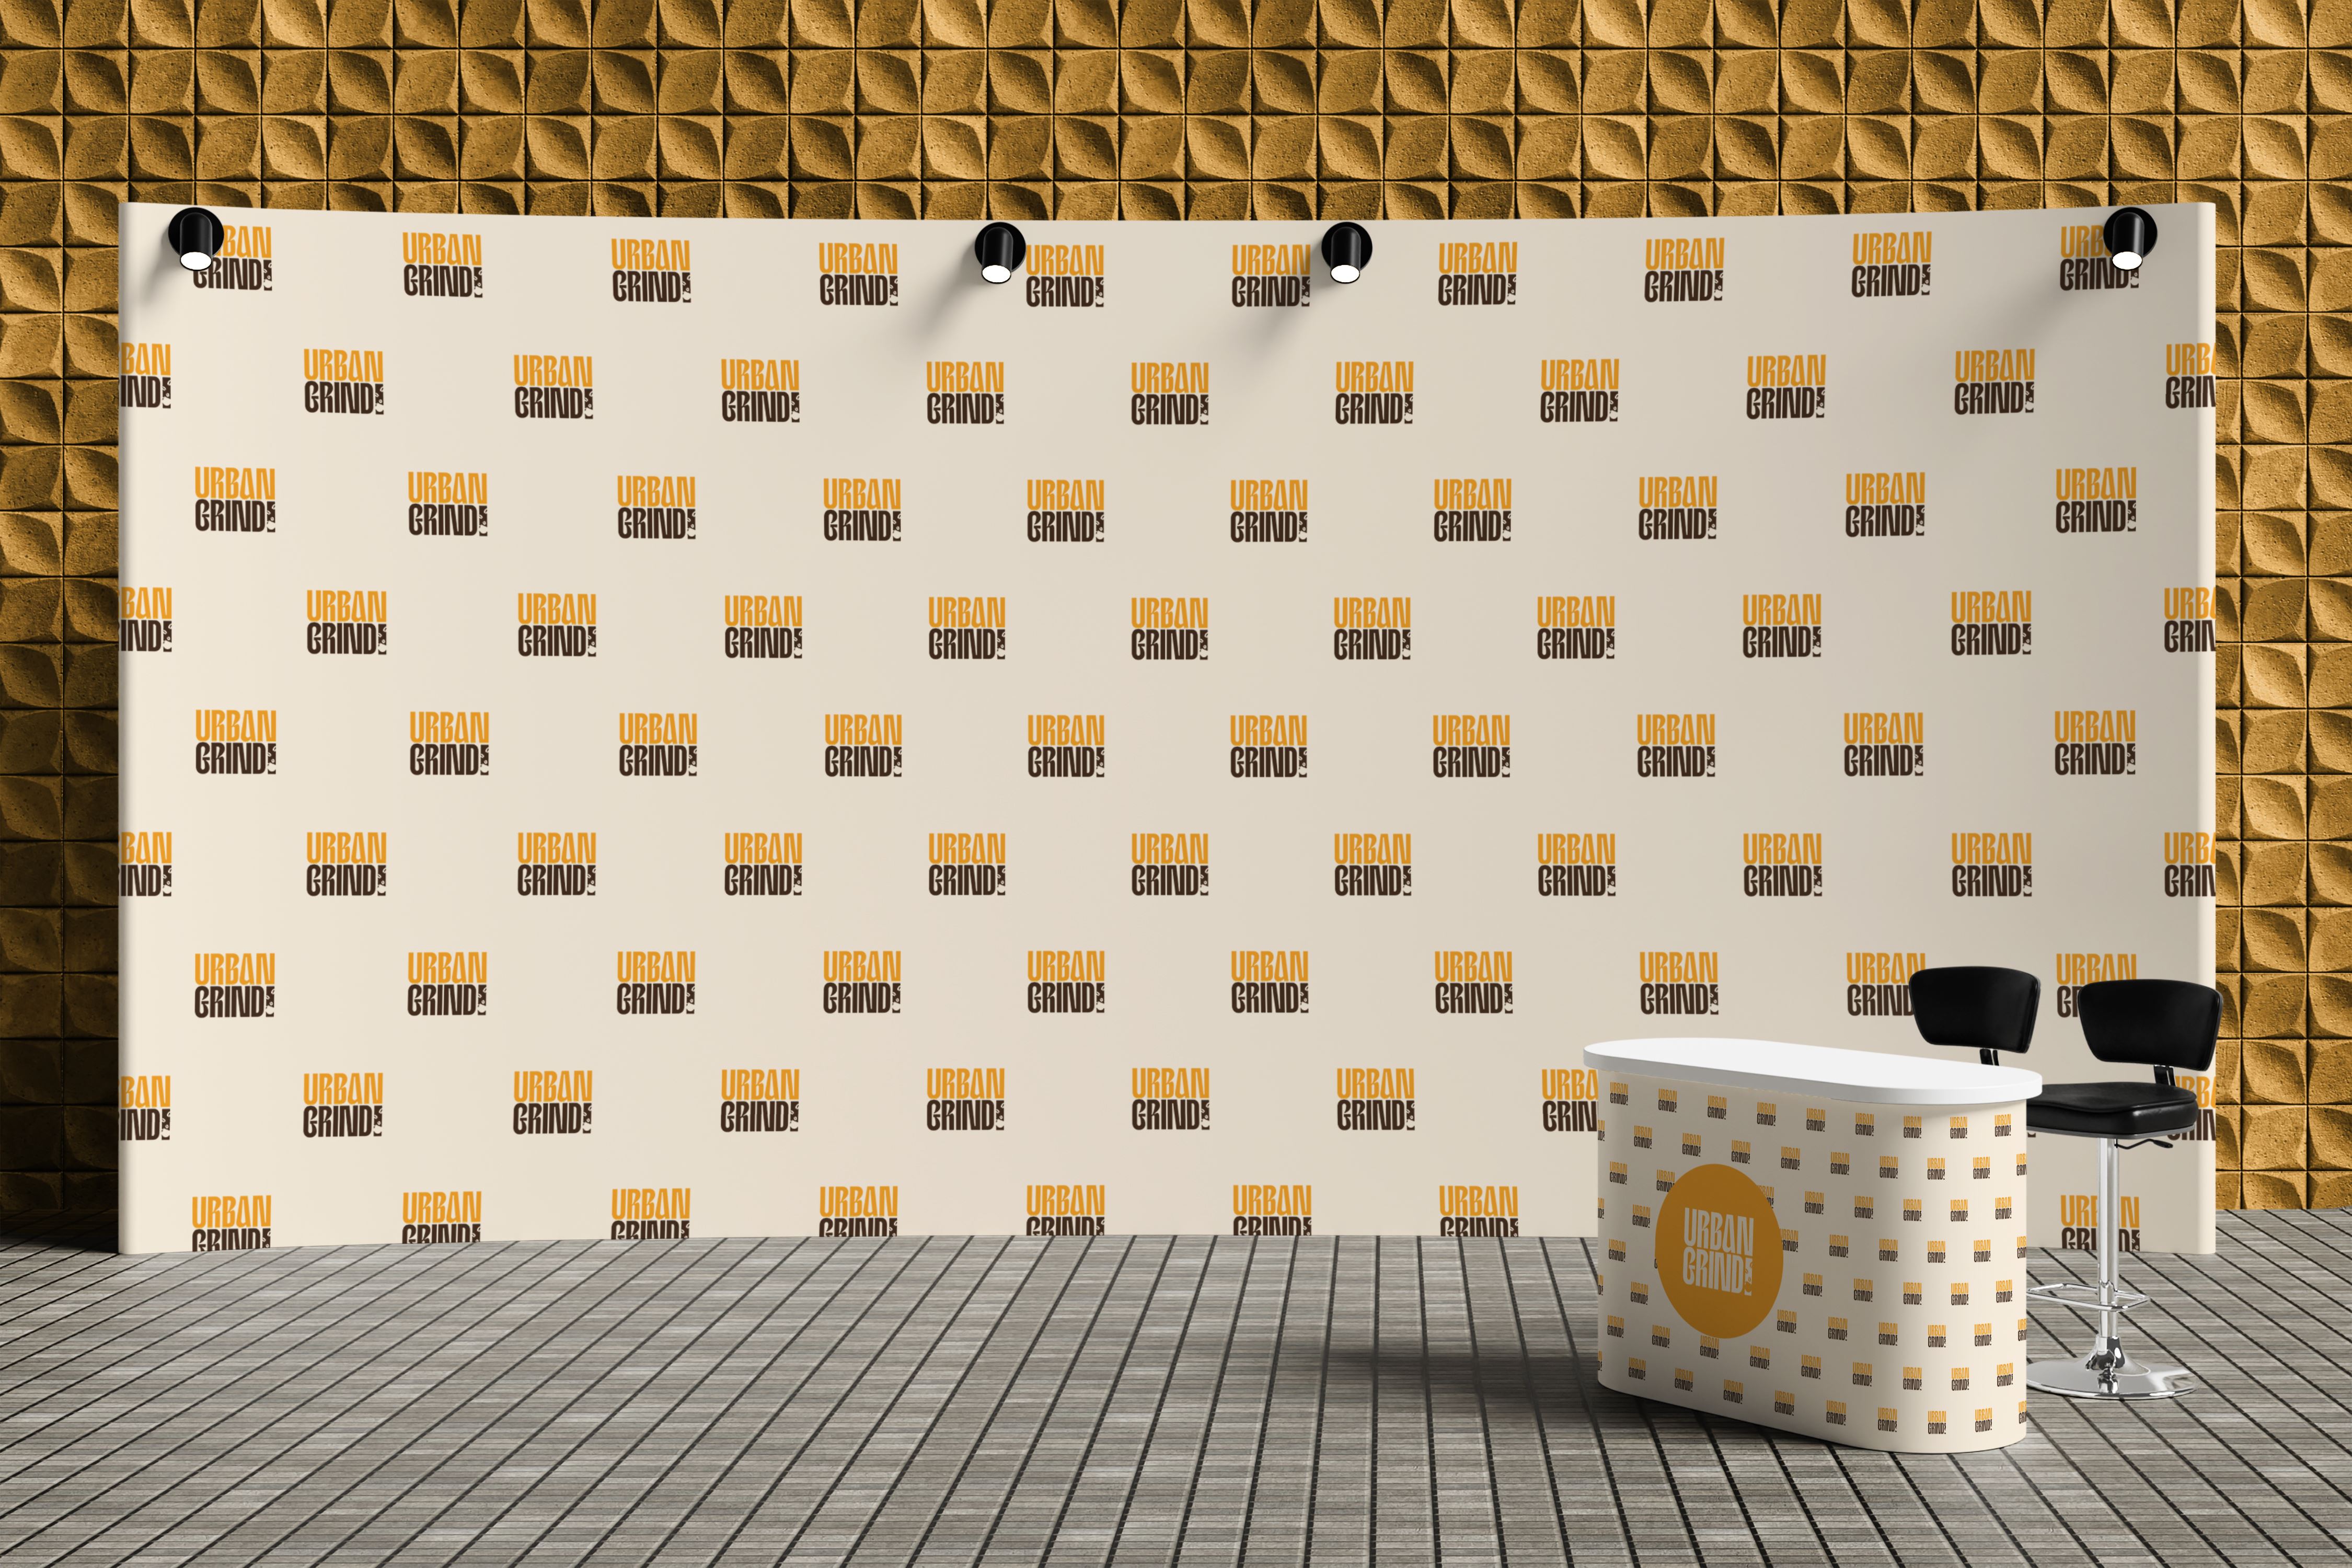
A strategically placed step and repeat backdrop can transform your booth from a forgettable stop into a memorable experience that feeds your CRM with qualified leads. Unlike traditional lead magnets that feel forced, photo moments tap into natural behavior—people want shareable proof they attended, and they're drawn to spaces where others are already engaged. The best part? This engagement engine takes up minimal floor space while delivering measurable results you can track long after the show ends.
Why Photo Moments Outperform Free Pens
Attendees carry an average of 12 pounds of trade show swag, but they share photos that reach hundreds of connections instantly. The psychology is simple: a branded photo backdrop offers something genuinely valuable—a professional-looking image they'll actually use on LinkedIn or social media.
Photo opportunities create predictable foot traffic patterns. When one person stops for a quick selfie, others naturally gather to see what's happening. This clustering effect attracts passersby who might have walked past your booth entirely. The result is organic booth traffic that doesn't require aggressive tactics or awkward interruptions.
This strategy works particularly well in Atlanta's major venues. The Georgia World Congress Center's wide aisles accommodate photo queues without blocking traffic flow, while Cobb Galleria's more intimate spaces benefit from corner-positioned backdrops that maximize visibility. Even niche shows at AmericasMart see strong engagement when photo setups are scaled appropriately for narrower aisles and smaller booth footprints.
Placement & Flow That Stops People—Not Traffic
The optimal placement for your step and repeat is at the corner or edge of your booth space, angled 10–15 degrees toward the main aisle. This positioning maximizes visibility from multiple directions while keeping the photo area from blocking your core booth activities.
Design your photo queue with intention. Use floor decals or subtle tape markers to create a natural path that guides people through the experience without crowding your neighbors. The queue should flow from aisle approach to photo position to exit, with clear sight lines that don't obstruct adjacent booths.
Keep the top third of your backdrop clear of detailed graphics so your brand message and logo remain readable from 20–30 feet away. This sight line strategy ensures maximum brand exposure even when people aren't actively taking photos.
Strategic add-ons can enhance the experience without cluttering your space. A slim counter positioned near the photo area gives staff a natural place to handle lead capture tablets and business cards. Lightweight stanchions can manage larger crowds during peak times, but store them out of sight during slower periods to maintain an open, approachable feel.
Design That Photographs Well
Your step and repeat needs to work both as booth backdrop and as a social media asset. Pattern your logo and messaging with enough spacing to remain readable when cropped to square Instagram formats or tight LinkedIn headshots. Dense logo repetition might look impressive from a distance, but it becomes cluttered noise in close-up photos.
Choose matte, high-contrast color palettes that photograph well under various lighting conditions. Heavy gradients and metallic finishes often wash out or create unwanted reflections in phone cameras. Solid colors with strong contrast ratios ensure your brand remains visible whether someone uses an iPhone or professional camera.
Keep messaging concise and scannable. Your company tagline and social media handles should be prominent, but move longer descriptions or detailed product information to side rails or separate signage. The backdrop should communicate your brand essence in the three seconds it takes someone to snap a photo.
Consider accessibility from the design phase. Minimum text height requirements ensure readability for attendees with visual impairments, while larger pattern scales prevent moiré effects that can make printed materials look distorted in photos.
Prepare vector-based files that can be easily resized for different show requirements. Link QR codes or NFC tags to URLs you can update post-show, allowing you to drive photo-takers to show-specific landing pages or offers that remain relevant after the event ends.
Lighting—Your Silent Booth Rep
Proper lighting transforms a basic backdrop into a professional photo studio that flatters everyone who steps in front of it. Position two soft light sources at 45-degree angles to eliminate harsh shadows and glare that makes people squint or look washed out.
Avoid bare LED strips aimed directly at the photo area. These create unflattering head-on lighting that's harsh and uncomfortable. Instead, invest in softbox attachments or diffuser panels that create even, flattering illumination that makes both your backdrop and your photo subjects look their best.
For darker exhibition halls, add a subtle hair light or edge lighting behind the photo position. This creates separation between subjects and the backdrop, making photos look more professional and ensuring faces don't blend into busy background patterns.
Plan your power requirements carefully. Calculate total amperage needs and map cable runs that don't create tripping hazards. For smaller setups or venues with limited power access, battery-powered LED panels can provide sufficient lighting for a full day without requiring additional electrical connections.
Capture Mechanisms That Actually Get Used
The photo opportunity is just the beginning—your real goal is converting that engagement into actionable lead data. QR codes positioned at shoulder height provide the easiest conversion path. Link to UTM-tagged URLs that direct to gated resources or show-exclusive offers, making the value exchange clear and immediate.
NFC tags embedded in freestanding signage offer one-tap convenience for attendees with compatible phones. While not universal, NFC provides a friction-free experience that often converts at higher rates than QR codes among tech-savvy attendees.
Text-to-join campaigns work well when venue WiFi is spotty or unreliable. A simple short code and keyword can capture opt-ins via SMS, building your contact list even when internet connectivity is poor. This backup method ensures you don't lose leads due to technical difficulties.
Address photo consent proactively with clear, plain-English signage that explains how images may be used. An auto-reply email system can send attendees their photos along with additional CTAs, extending the engagement beyond the show floor while providing immediate value.
Use the same destination URL across all capture mechanisms, but employ different UTM parameters for each method. This approach simplifies management while providing detailed attribution data that reveals which conversion paths work best for your audience.
Incentives that Don't Feel Gimmicky
The most effective incentives provide immediate, tangible value that enhances the photo experience. On-the-spot printing of their photo in a branded frame or as a high-quality sticker creates instant gratification while extending your brand reach when they display or share the physical item.
Daily raffles with posted draw times serve double duty by providing incentive and bringing people back to your booth multiple times throughout the show. Post clear schedules and make the drawing process visible to build anticipation and demonstrate transparency.
Partner with neighboring booths on shared scavenger hunts or passport programs. A printed card that requires stamps from multiple locations increases foot traffic for everyone involved while creating a more engaging experience that goes beyond individual booth interactions.
Staff Scripts & Roles
Assign clear roles to optimize the photo experience and lead capture process. Your greeter welcomes attendees and explains the photo opportunity, the photographer/guide helps with positioning and lighting, and the scanner/qualifier handles lead capture and follow-up conversations.
Develop a micro-script that takes 7–10 seconds to deliver: "We're offering professional photos with your industry colleagues today—would you like us to take one for you? Great! While you're here, I'd love to learn more about [relevant business challenge] at your company." This approach feels natural and provides a smooth transition into qualification.
Create a bank of qualifying questions tied to your ideal customer profile. Quick notes captured during the photo process can be entered into your CRM immediately, ensuring hot leads don't get lost in post-show follow-up delays. Focus on pain points and timeline questions that help prioritize your outreach efforts.
Measurement & ROI
Track both traditional booth KPIs and photo-specific metrics to understand the full impact of your investment. Standard measurements include total scans, email opt-ins, qualified conversations, meetings booked, and cost per lead generated.
Photo-specific KPIs provide additional insight into engagement quality. Monitor QR code hits, NFC taps, social media shares using your branded hashtag, and redemption rates for photo-gated offers. These metrics help optimize future photo strategies and justify the investment in enhanced booth experiences.
Build a simple dashboard using spreadsheets with UTM tracking and show-specific codes. Monitor both immediate conversions and 30-day, 90-day pipeline impact to understand the full customer journey from photo engagement to closed deals.
Establish a post-show cadence that maintains momentum from the photo interaction. Send same-day thank-you messages, 3-day resource follow-ups, and 10-day meeting requests that reference the specific show and photo interaction to maintain context and relevance.
Hardware & Materials
Matte tension-fabric backdrops offer the best combination of photo quality and durability. The wrinkle-resistant material maintains a professional appearance throughout multi-day shows, while the matte finish eliminates glare and hotspots that can ruin photos.
For smaller booth spaces, 8×8 fabric panels with collapsible frames provide sufficient backdrop area without overwhelming tight quarters. Add a slim LED light bar for basic illumination that doesn't require extensive power planning or complex setup.
Design your system for reusability across multiple shows. Invest in quality frames that can accommodate different graphic inserts, allowing you to swap messaging and visuals for different industries or seasonal campaigns without replacing the entire system.
When planning for Atlanta venues, check elevator dimensions and doorway clearances during the design phase. Note any union requirements or venue-specific installation restrictions that might affect setup timing or costs, particularly for Georgia World Congress Center and other major facilities.
Real-World Mini Playbook
Consider a 10×10 corner booth setup with an 8×10 matte fabric backdrop positioned at a 15-degree angle toward the main aisle. Two softbox lights eliminate shadows, while a QR code directs to an "Atlanta Executive's Guide to [Your Industry]" landing page. SMS backup captures leads when WiFi fails, and a daily raffle for Apple AirPods brings people back throughout the show.
Target results for this setup might include 120 QR scans, 60 qualified conversations, and 18 confirmed post-show meetings. These numbers provide a baseline for measuring success and justify investment in enhanced photo setups for future shows.
Timeline & Checklist
6–8 weeks before show:
- Finalize messaging strategy and design brief
- Order backdrop hardware and graphics
- Reserve additional power if needed
3–4 weeks before show:
- Approve final proofs and artwork
- Build landing pages with UTM tracking
- Test QR codes and NFC functionality
- Order any promotional items for incentives
1 week before show:
- Create pack list and shipping labels
- Rehearse staff scripts and role assignments
- Set up calendar booking links
- Program badge scanners and lead capture devices
Show day setup:
- Test lighting setup and adjust for venue conditions
- Place queue markers and directional signage
- Verify all digital capture mechanisms are working
Daily reset:
- Clean backdrop and check for damage
- Restock promotional materials
- Review lead capture data and follow up on hot prospects
Post-show (within 48 hours):
- Clean and organize captured lead data
- Send personalized thank-you messages
- Log KPIs and performance metrics
- Schedule follow-up calls for qualified prospects
Ready to transform your next trade show presence? Send us your logo files and booth dimensions, and we'll create a custom mockup showing how a photo-ready step and repeat can work in your specific space, complete with lighting recommendations for your venue.
Frequently Asked Questions
What backdrop size works best for a 10×10 booth?
An 8×10 fabric backdrop provides ample photo space without overwhelming a standard booth. Position it at an angle to maximize visibility while leaving room for other booth elements and staff interaction areas.
Can we swap graphics for different shows or industries?
Absolutely. Tension-fabric systems are designed for easy graphic changes. Order additional fabric panels for different verticals or seasonal campaigns while reusing the same frame hardware.
How do we track leads specifically from photo interactions?
Use unique UTM codes for each capture method (QR, NFC, SMS) that link to show-specific landing pages. This provides clear attribution while allowing you to measure conversion rates for different engagement types.
What if the exhibition hall has harsh overhead lighting?
Add your own soft lighting at 45-degree angles to counteract harsh venue lighting. Battery-powered LED panels work well when additional power isn't available, and softbox attachments eliminate unflattering shadows.
Do you handle installation at Georgia World Congress Center and other Atlanta venues?
Yes, we work with certified installers familiar with venue requirements and union regulations. We can coordinate full setup and breakdown services, ensuring compliance with facility rules and timeline requirements.
Can you rush production if our show is in two weeks?
Rush production is available for most backdrop sizes, though it may involve additional fees. Contact us with your specific requirements and timeline—we'll provide options that meet your deadline while maintaining quality standards.